Install on Windows
cli_debrid is available as a standalone Windows executable — no Docker, no Python installation required.
Symlinks on Windows
If you plan to use Symlinked/Local library management mode, Windows Developer Mode must be enabled first. Go to Settings → System → For developers → Developer Mode → On.
Plex does NOT support symlinks on Windows. Use Jellyfin instead if you are on Windows with symlink mode.
Prerequisites
- Windows 10 or Windows 11
- A debrid account (Real-Debrid, AllDebrid, Premiumize, Torbox, or Debrid-Link)
- Plex or Jellyfin installed and running
- A debrid mount tool — Zurg + rclone is the recommended option on Windows (see below)
Step 1 — Download the executable
Go to the Releases page on GitHub and download the latest Windows build.
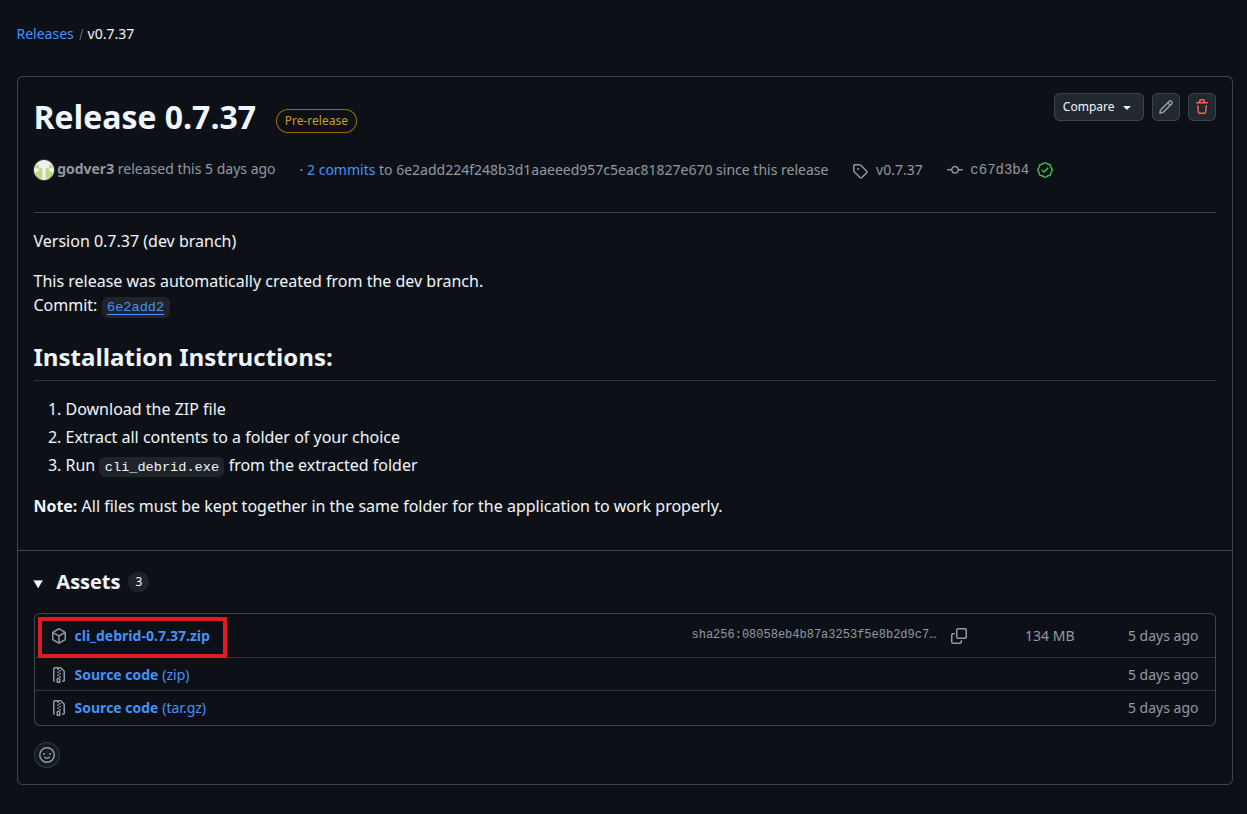
The file will be named something like cli_debrid-windows-x64.exe or packaged as a .zip.
Step 2 — Extract and place the files
If downloaded as a .zip, extract it to a permanent location — for example:
Do not run from Downloads
Do not run cli_debrid directly from your Downloads folder. Move it to a dedicated directory first, as it creates data folders relative to where it runs.
Step 3 — Create data directories
cli_debrid will create its data folders automatically on first run, but you can create them in advance:
Step 4 — Run cli_debrid
Double-click cli_debrid.exe or run it from a terminal:
A console window will open. You should see:
Run on startup
To start cli_debrid automatically with Windows, create a shortcut to the .exe in your Startup folder (Win+R → shell:startup). For a proper background service, consider using NSSM to wrap it as a Windows service.
Step 5 — Access the web interface
Open your browser and go to:
The onboarding wizard will launch on first visit.

Updating on Windows
- Download the latest
.exefrom the Releases page - Stop the running cli_debrid process
- Replace the old
.exewith the new one - Start cli_debrid again
Your data (db_content\, config\, logs\) is preserved between updates.